
Why transfer faults start before the press closes
Most transfer problems begin long before the heat press cycles. If the garment, transfer media and press settings are not matched, the result is often lifting edges, weak colour or a release that tears instead of separating cleanly. In a busy Midrand shop, that might only show up after 20 garments have already been run, which is why small setup faults cost time and money very fast.
Short-run colour work is especially sensitive because there is less room to hide variation. A small change in humidity, a worn platen cover, or a slightly uneven press can shift the result. On textile and label jobs alike, the first check should always be the full path from artwork and print to curing, storage and pressing.
It helps to think of transfer issues as three separate problems: adhesion, colour appearance, and release. Each one has different causes, and the fix for one can make another worse if you are not careful.
Lifting edges usually point to heat, pressure or surface prep
When corners lift or a design peels after washing, the common cause is poor bond formation. That can come from low pressure, uneven pressure, incorrect dwell time, or a press that is not reaching true platen temperature. A machine can read 160 degrees but still have cold spots on the edges, especially if the element is ageing or the platen is warped slightly.
Garment prep matters too. Fabric with finishing agents, dust, lint or moisture can stop proper adhesion. Polyester blends and coated fabrics need particular care, because trapped finish or residual moisture can create weak spots. Coastal humidity affects this more than people expect, even inland stock held in open packing areas can absorb enough moisture to change the result.
- Check the actual platen temperature with a surface probe, not only the controller reading.
- Make sure pressure is even from edge to edge, especially on larger formats.
- Keep garments dry, clean and lint free before pressing.
- Allow enough cooling time where the transfer method requires it.
If lifting happens only on one side, the press may be closing unevenly. If it happens on all edges, look first at temperature and dwell. If it happens after washing, poor pre-press moisture removal or the wrong transfer media for the fabric is often the reason.
Dull colour is often a print or cure issue, not a press issue alone
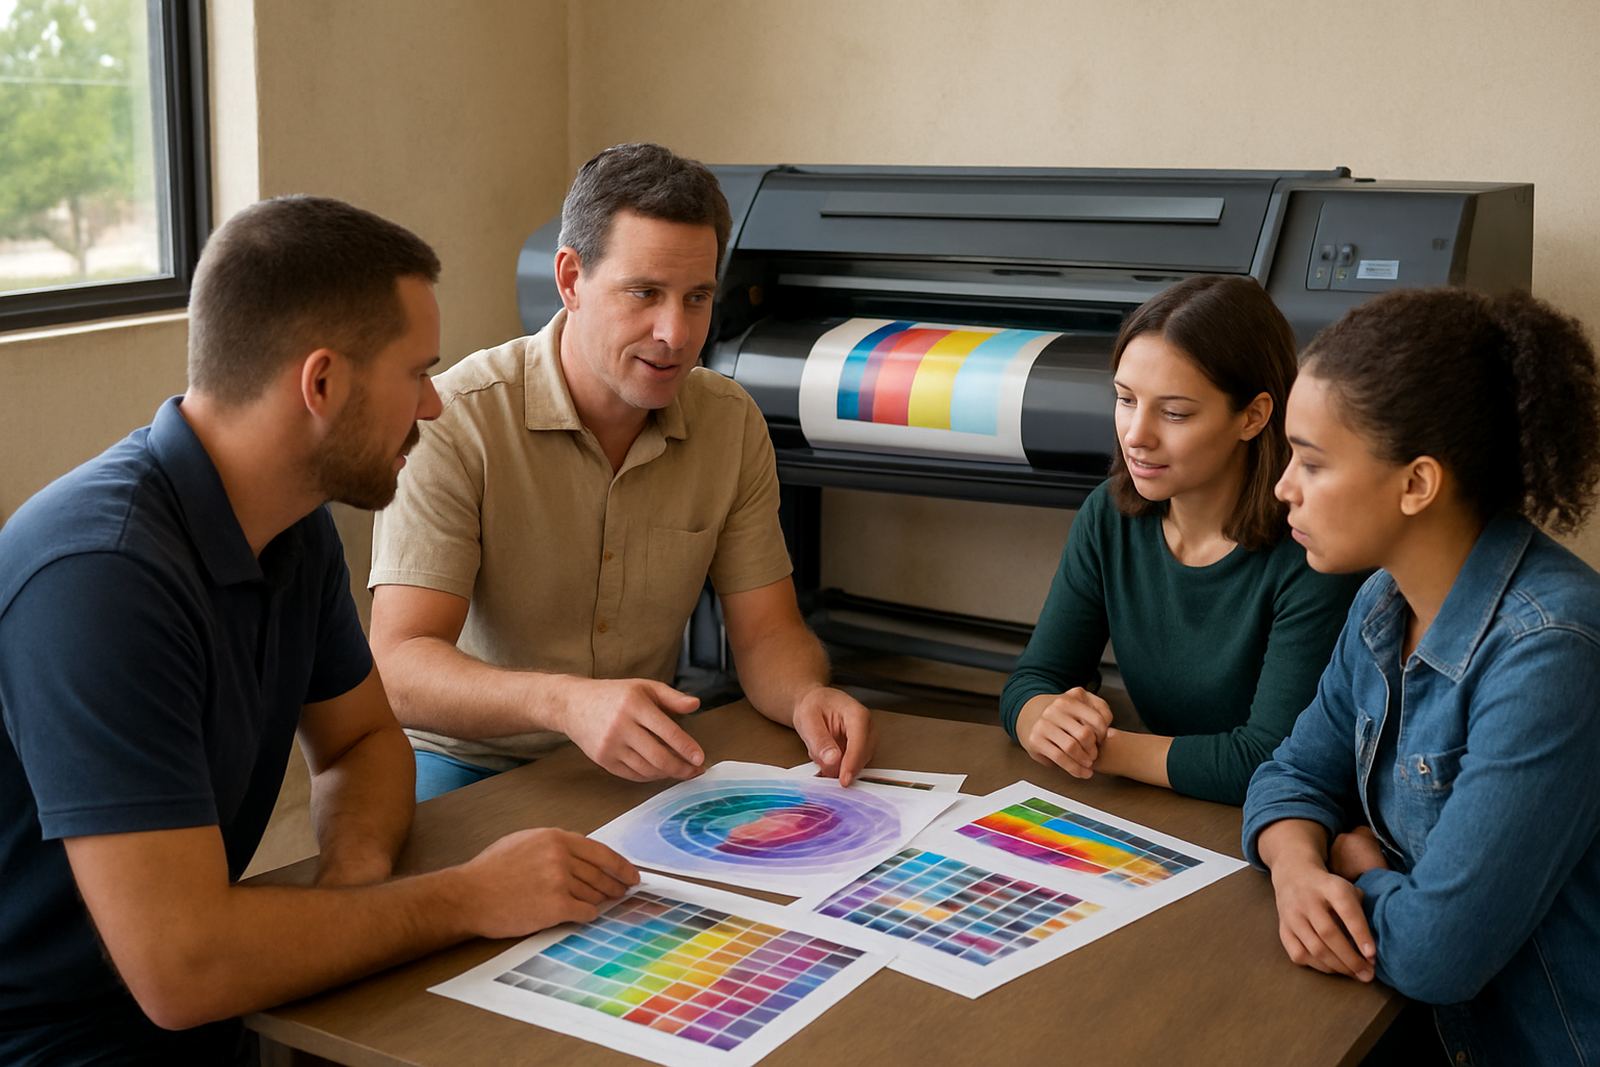
Flat, lifeless colour can make a job look underpowered even when the press settings are correct. With digital transfer work, dull output often starts at the print stage. Too little ink density, the wrong media profile, or a clogged printhead can leave the image underfed before it ever reaches the garment.
In South Africa, we also see colour shift from storage conditions. Toners, inks and transfer media kept too warm in a storeroom, or too long near a loading bay, can behave inconsistently. A shop in Pretoria might get different results in winter and summer if the media is not acclimatised before use. This is a real thing, not a theory, and it catches even experienced teams out.
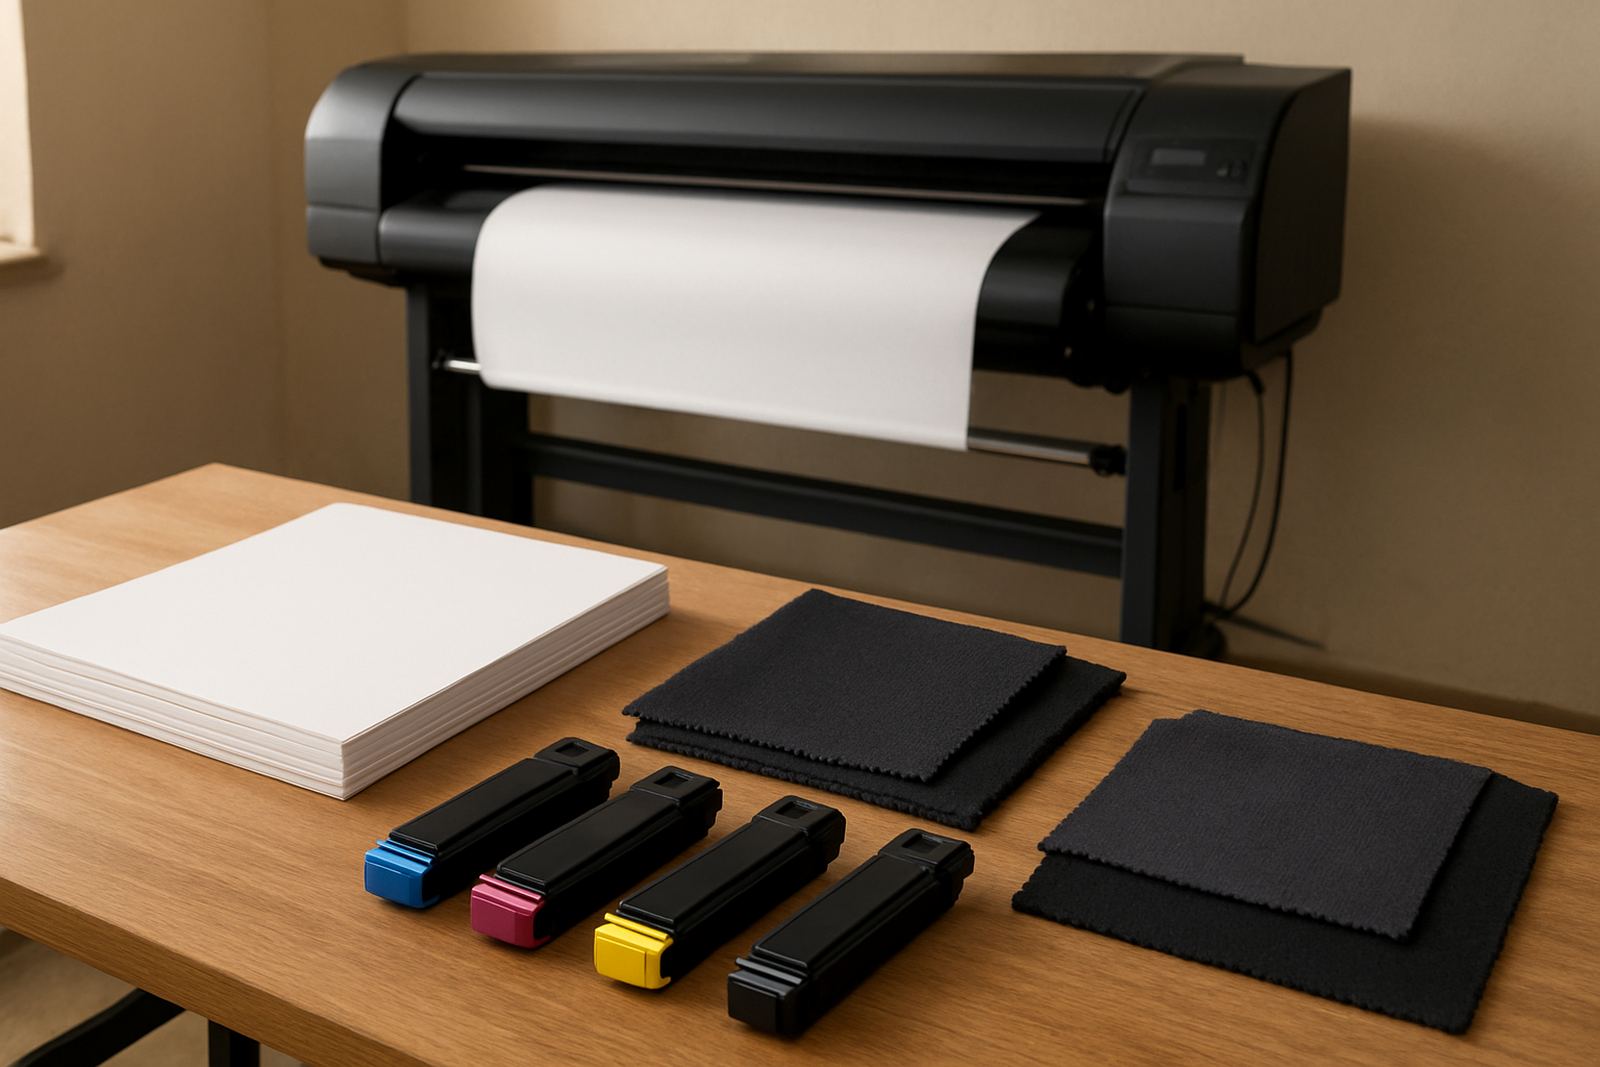
- Check print density and make sure the artwork is not being compressed by a weak profile.
- Confirm that the printer is laying down the right amount of toner or ink for the media type.
- Inspect media for moisture, curl or contamination.
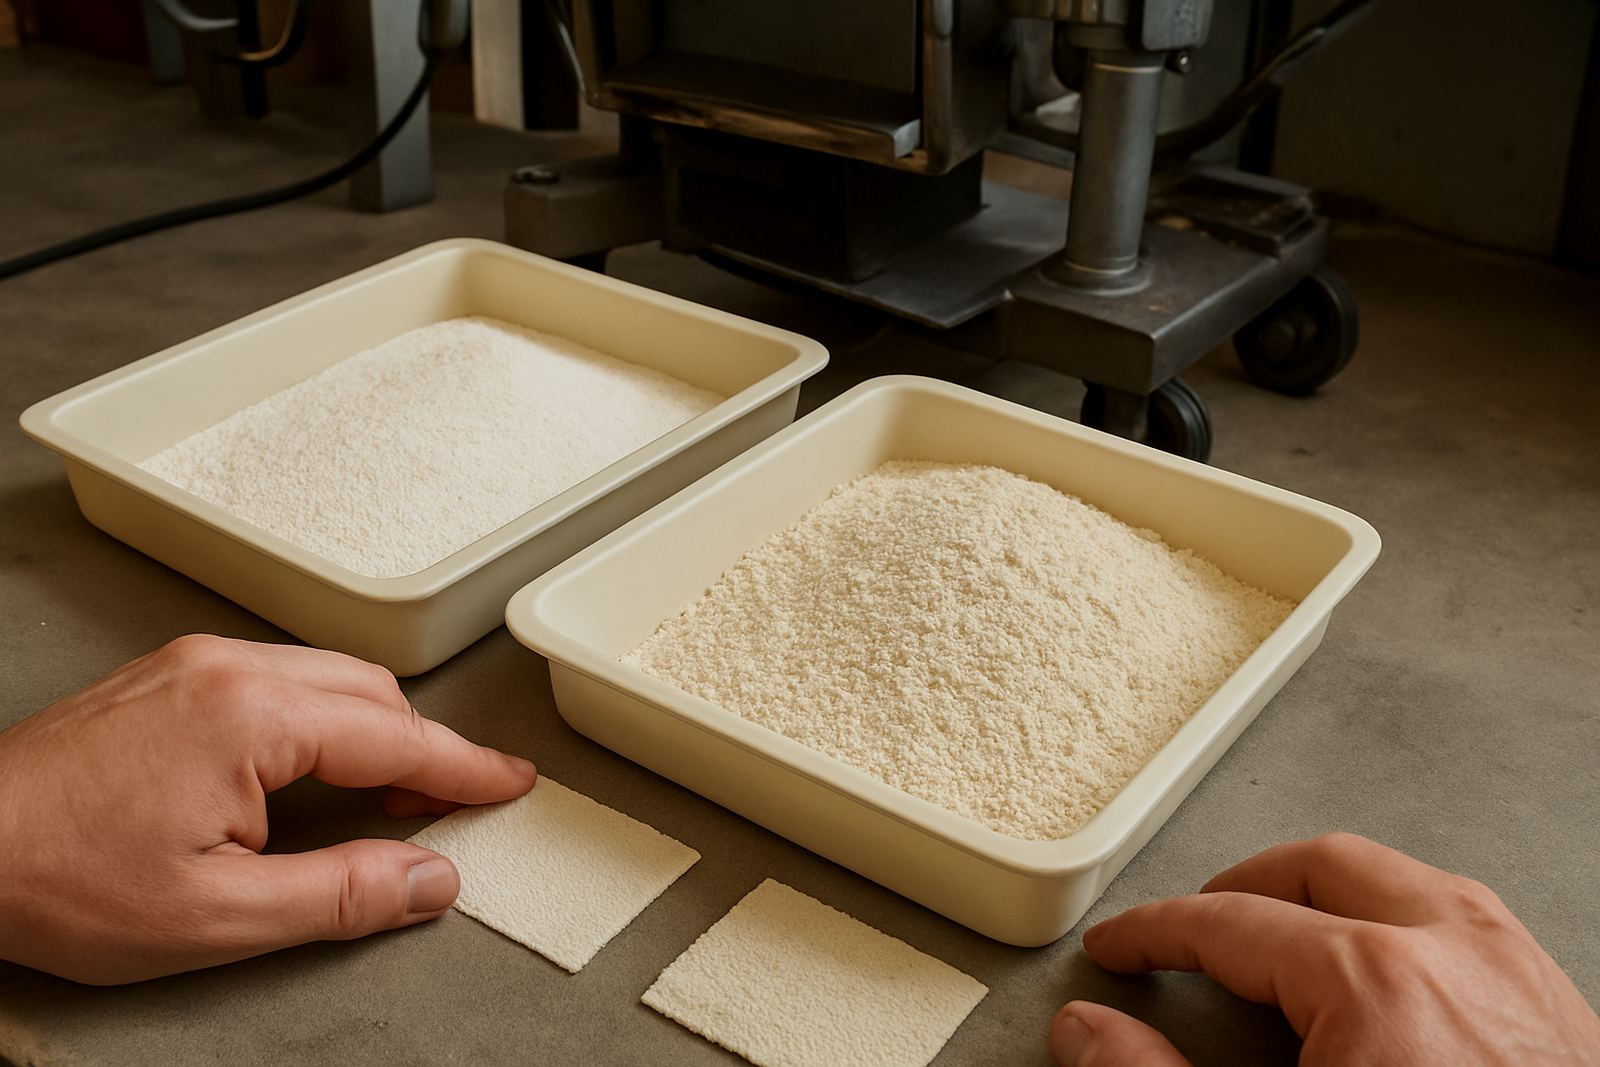
- Review curing or powdering settings where the transfer process uses them.
Dull colour can also come from over pressing. Too much heat or time may flatten pigment and reduce visual punch. That is why a test strip on each new batch is worth the extra minute.
Poor release is usually a timing or chemistry mismatch
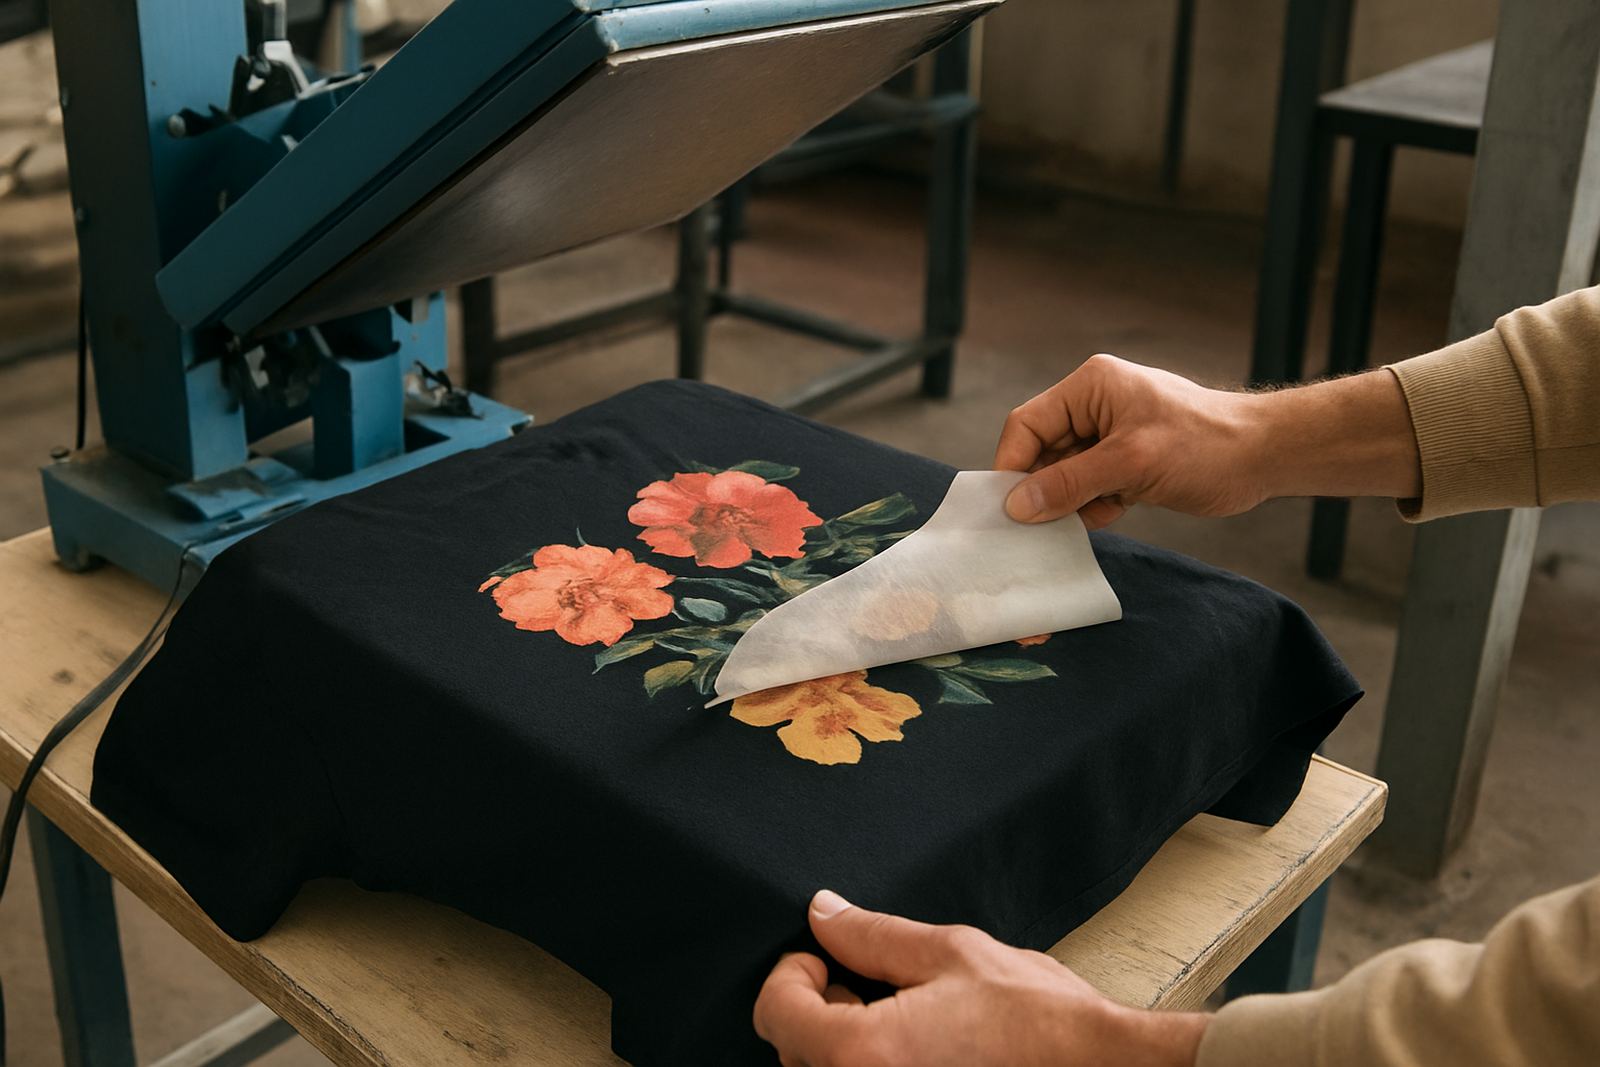
Poor release means the transfer does not leave the carrier cleanly, or it releases too soon and distorts the image. This is often caused by using the wrong peel temperature, the wrong pressure, or the wrong transfer chemistry for that fabric. Some media must cool before peeling, while others need a hot peel. Mixing those up is a common mistake.
Press-side contamination can also interfere. Residue on the platen, adhesive build-up on the cover sheet, or powder transfer from previous jobs can change how the carrier separates. In label work, poor release can be especially costly because fine text and small barcodes are unforgiving. A tiny tear can make a whole batch unusable.
Here are the usual release faults and what they point to:
- Image tears as the carrier lifts: too early a peel, too much tack, or insufficient cure.
- Design stays on the carrier: not enough heat, pressure or dwell.
- Patchy release across the sheet: uneven platen heat or inconsistent pressure.
- Sticky hand feel: over-application of adhesive or incomplete finishing.
If the same issue repeats on different garments, the process is at fault. If it only happens on one substrate, the material is the likely culprit.
A Johannesburg example shows how small faults stack up
A print shop serving schools and small clothing brands between Midrand and Sandton had repeated lifting on chest logos, but only on dark polycotton T shirts. The team first blamed the artwork, then the printer, then the transfer film. The real problem was a combination of stored garments picking up moisture overnight and a press that was running hot in the centre but cooler at the edges.
Once the garments were kept sealed, the press was calibrated, and the dwell time was adjusted by a few seconds, the failure rate dropped sharply. The colour also improved because the operator stopped over pressing in an attempt to force adhesion. That shop did not need a bigger machine, it needed cleaner process control.
This is a useful reminder for any print room in Johannesburg, Pretoria or the East Rand. If a transfer behaves badly only on some jobs, do not assume the consumable is bad. Work through the full chain, one step at a time.
The quickest way to reduce repeat failures
The fastest improvement usually comes from documenting your settings and checking them every day. Many shops rely on memory, which is fine until staff change shifts or the weather turns humid. A written setup sheet for each media type can save hours over a month.
Daily checks do not need to be complicated. Keep the press clean, verify temperature with a probe, inspect the carrier stock, and test one sample before running the full job. If you are using multiple transfer types for garment decoration and label printing, keep them separated and clearly marked. Mixing them up causes avoidable scrap.
- Record temperature, pressure and dwell for each approved substrate.
- Store media flat in a dry room, away from open doors and direct sun.
- Clean platens and covers before each shift.
- Run a sample whenever you change garment fabric or transfer batch.
- Replace worn covers, damaged rollers and unstable controllers promptly.
When problems continue, it is worth bringing in technical support for colour calibration, media profiling and equipment checks. A press or printer can look fine during a quick test and still drift under production load. Catching that early keeps jobs moving and protects margins.